
Some time ago my boyfriend asked if I could sew him an insulating bag for his lunch. “Well sure”, I said, and that’s when the trouble began 🙂 (that’s not true, but it wasn’t that simple…..)
After getting some ideas from him, about what I would need to make a bag insulating, I did some research online……..and then just bought some stuff and started.
And this is the material I used: some oilcloth, bubble wrap, silver thermal foil (it’s from a rescue blanket in an old first aid kit ), hook and loop fastener and some fabric.

When I tried to sew it together I noticed that my sewing machine transported none of the materials – they just sticked to it and didn’t move. So I had to use some ribbon.
I must confess that I just had some not so concrete ideas about how everything would work out. So after I sewed these things together I noticed that it wouldn’t work like this, because I couldn’t sew the separate parts together so they would form a bag….. ![]()
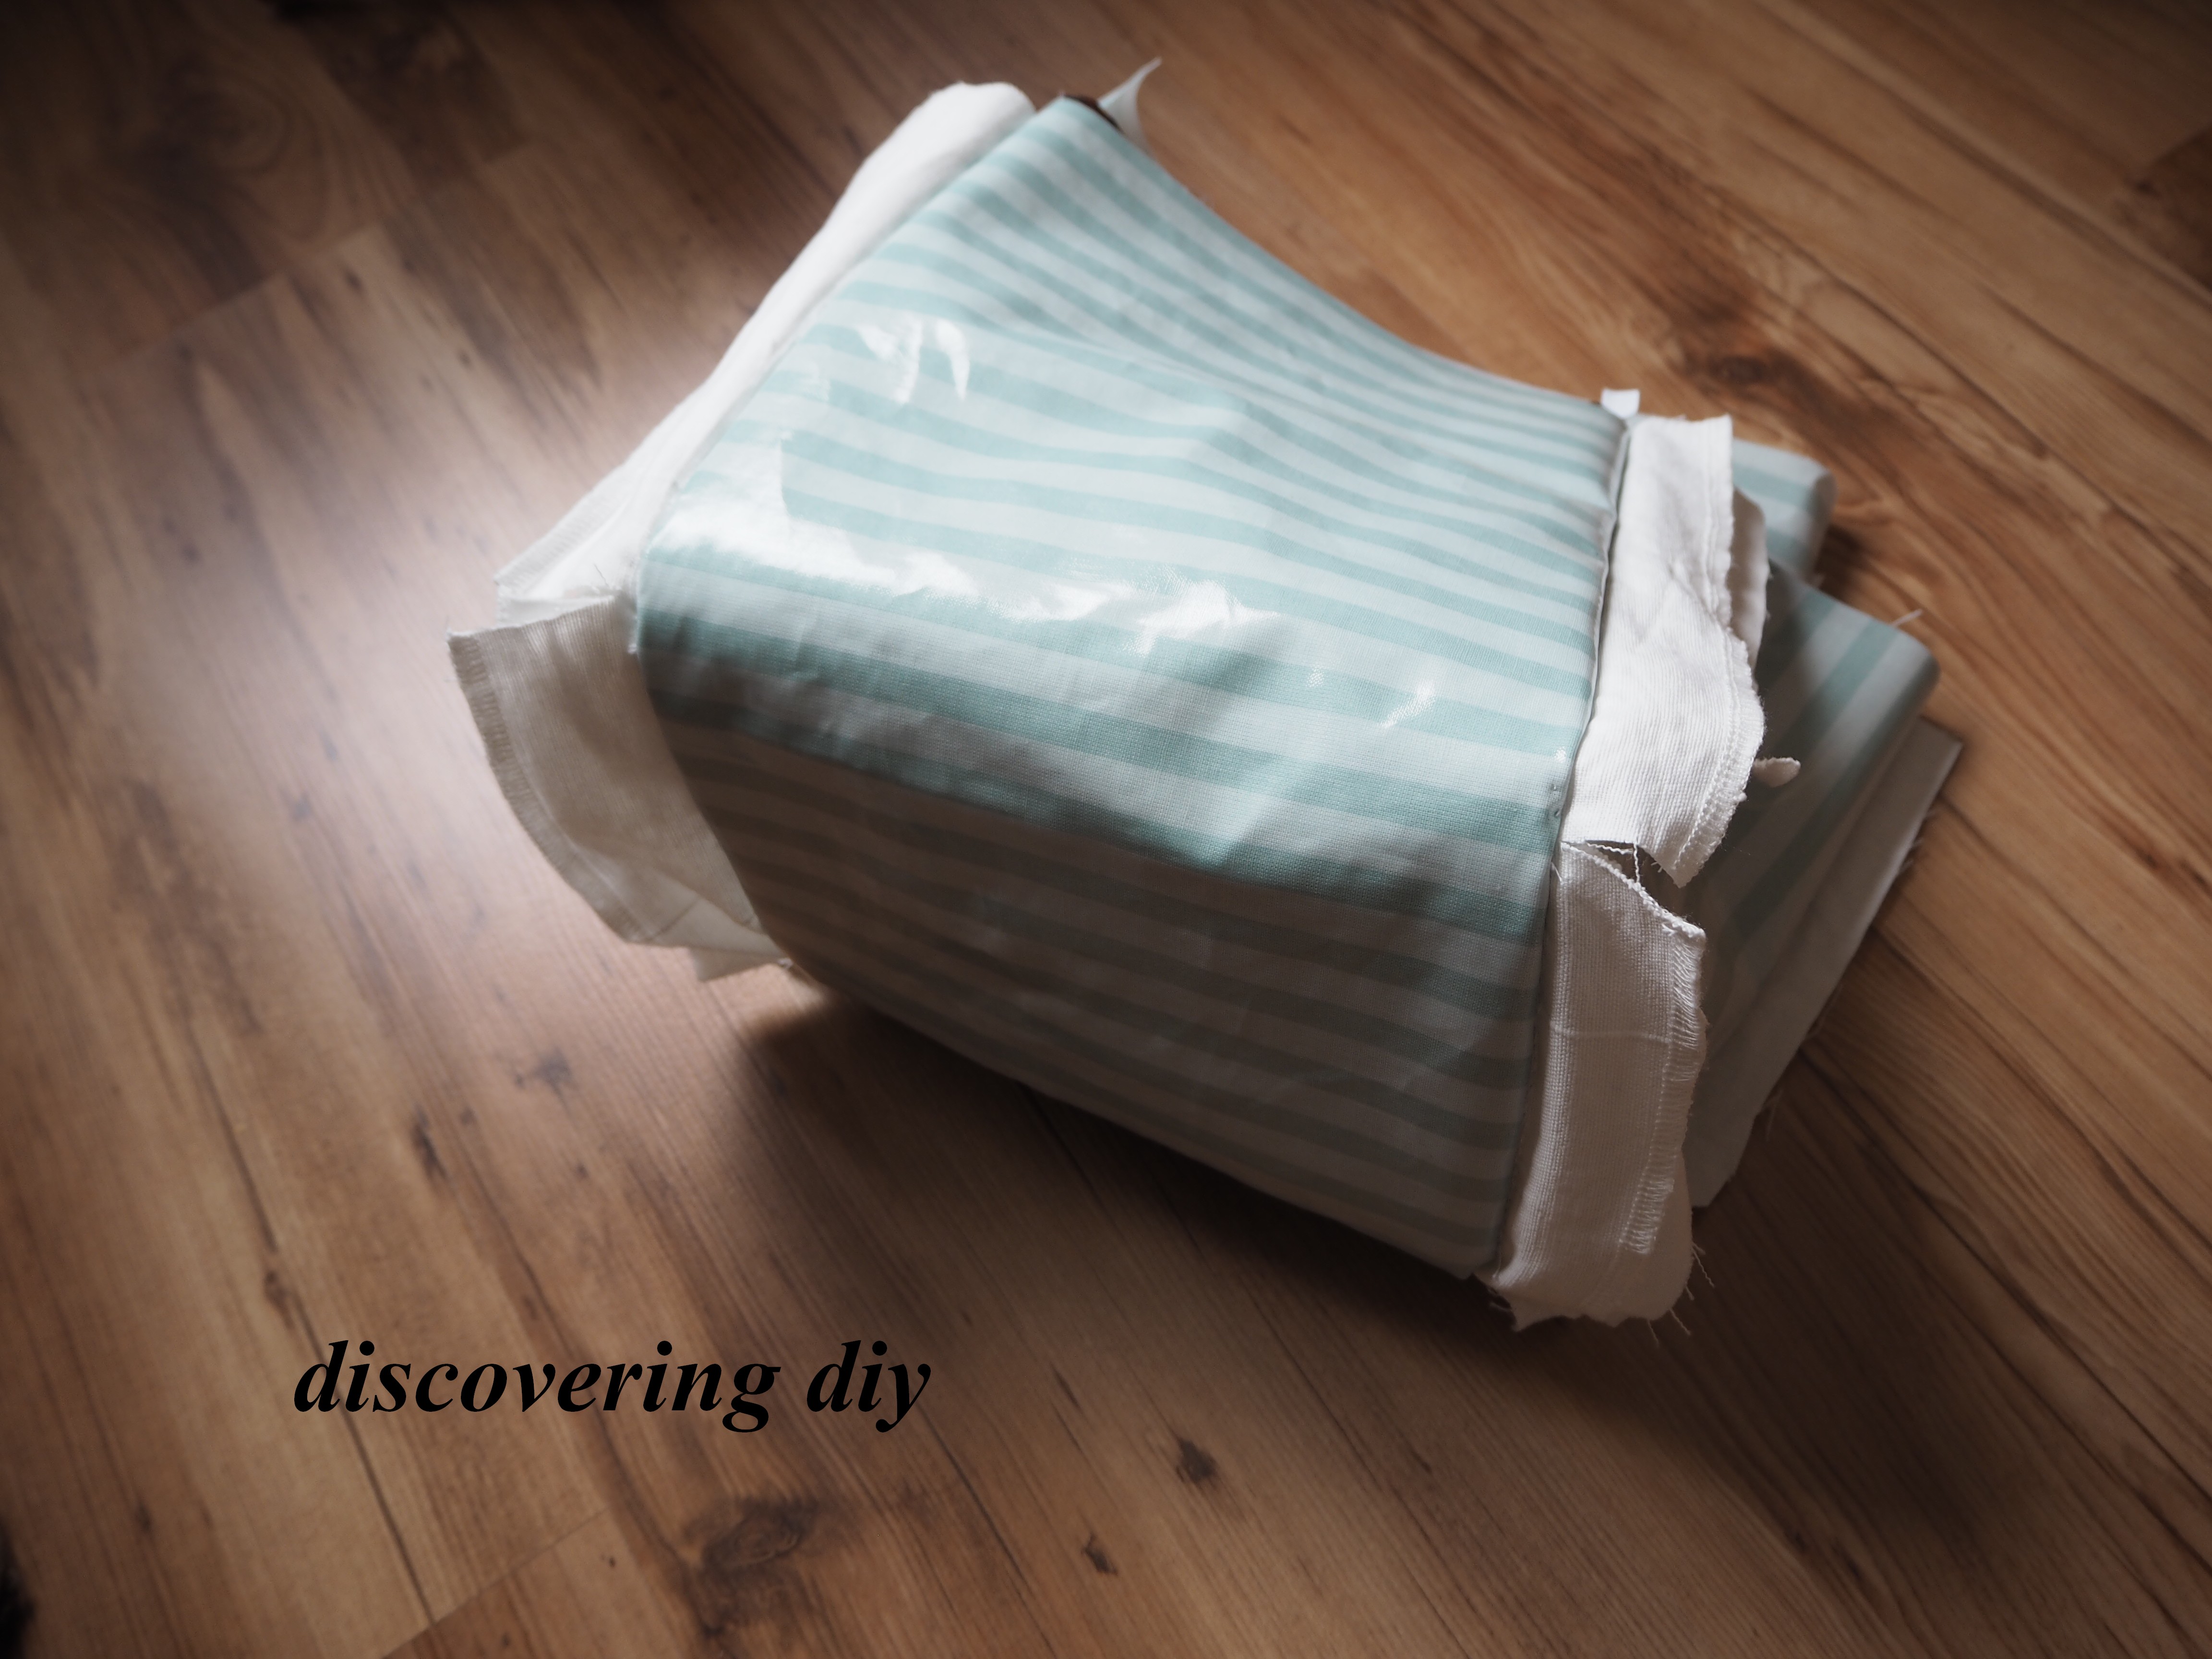
That’s why I had to pull everything apart and start again. This time I put some fabric in between the layers, so later I just could sew the fabric together (can you still follow? 😉 )
So this is the order in which I finally put it (after the sewing I turned it so the oilcloth is on the outside – as you might have guessed 🙂 )……….

After that I sewed the parts together by hand……….

And it became a bag.
I shortened the flaps.

And in the end I sewed the hook and loops fastener in and a ribbon around the top.
(As you might notice I put the fastener in a way so you can close the bag in two different ways as you will see later.)


And that’s it: you can close it like this………

or like this…………


Leuk het is dus gelukt! yeah 🙂
🙂